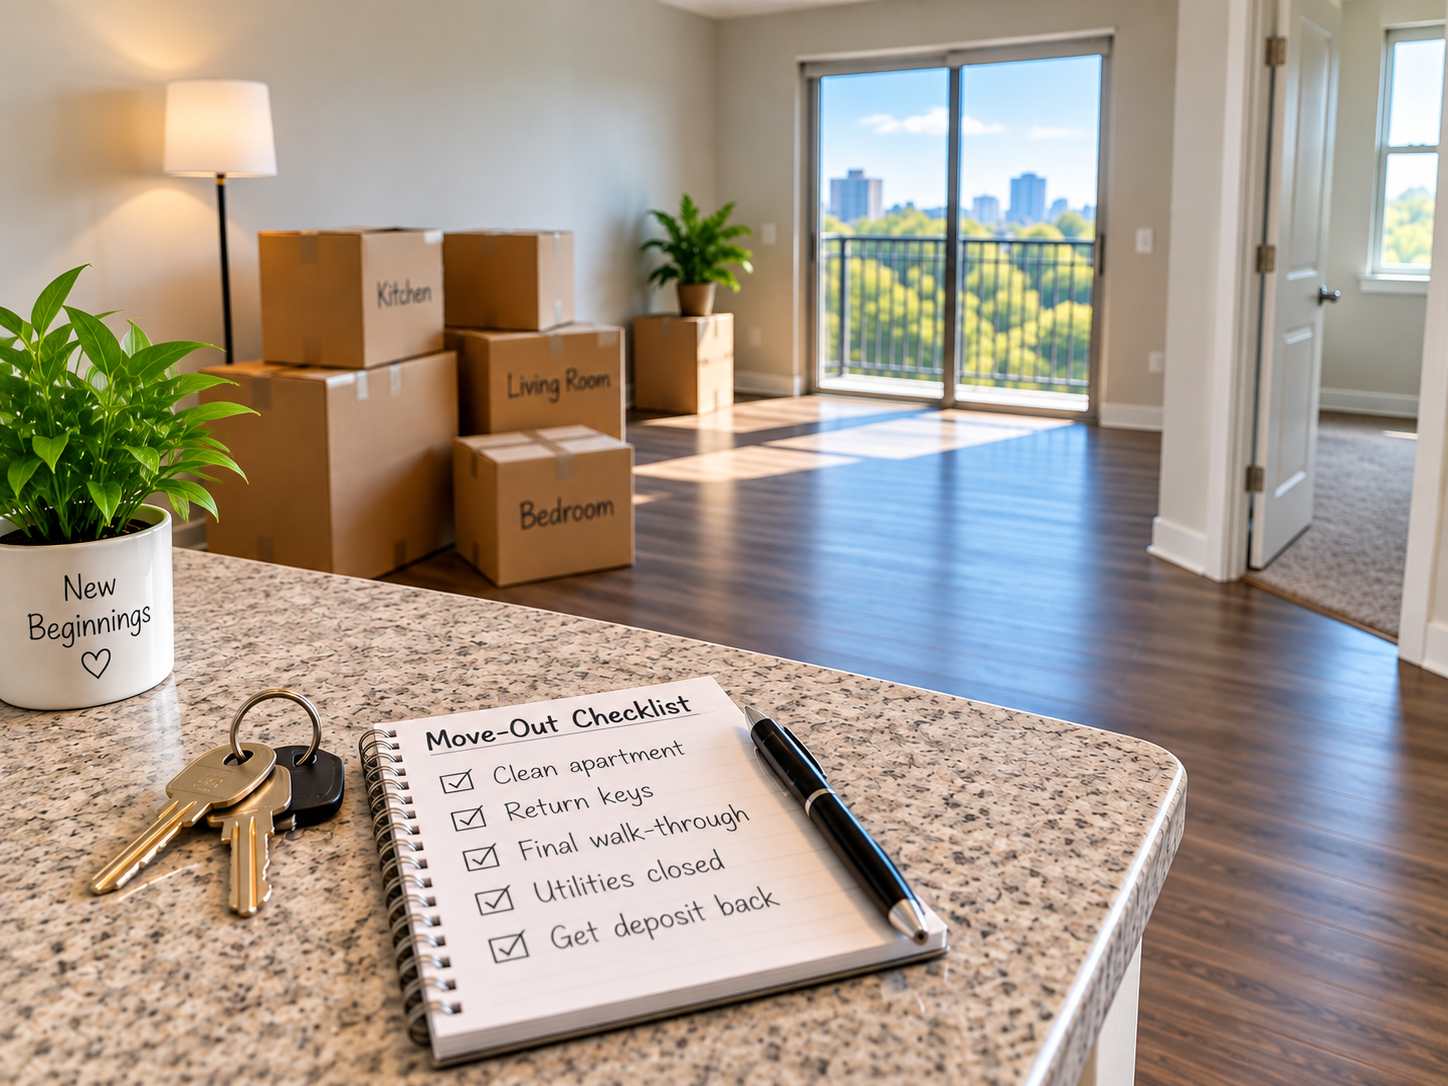
Moving out of a rental home can be stressful enough without worrying about your security deposit. After paying rent, packing your belongings, and arranging your next place, the last thing you want is a surprise deduction from your deposit.
The good news is that a little preparation can make the move-out process much easier. Taking photos, cleaning carefully, checking your lease, and keeping records can help you protect yourself if there is a disagreement later.
Security deposit rules are different from one state or city to another, so always check the rules that apply to your rental. But these simple steps are useful for almost any renter.
1. Read Your Lease Before You Move
Before you start cleaning, read the section of your lease about moving out.
Look for information about:
- How much notice you need to give
- Cleaning requirements
- Key or garage remote returns
- Move-out inspections
- Repairs
- Your forwarding address
- Security deposit deductions
Your lease may contain specific instructions that are easy to overlook.
2. Take Photos Before You Leave
One of the simplest things you can do is take clear photos of the rental after your belongings are removed.
Take pictures of:
- Every room
- Floors and walls
- Kitchen appliances
- Cabinets and closets
- Bathrooms
- Doors and windows
- Any damage that was already there
It is a good idea to keep the original photos rather than deleting them after the move.
Photos can give you a record of the property’s condition when you left.
3. Compare the Home With Your Move-In Records
If you took photos or completed a move-in checklist when you first moved in, compare those records with the condition of the home now.
This can help you separate old problems from damage that happened during your tenancy.
For example, a small mark that was already visible when you moved in should not simply be treated as something you caused.
Keeping a move-in record is one reason documentation can be so useful for renters.
4. Clean the Home Carefully
You don’t necessarily need to make the rental look brand new, but you should leave it in the condition required by your lease.
Pay attention to areas that are easy to forget:
- Inside the refrigerator
- Oven and stovetop
- Cabinets and drawers
- Bathroom fixtures
- Floors
- Windows
- Closets
- Trash and storage areas
Also remove your personal belongings before the final inspection.
A clean, empty home makes the final walkthrough much easier.
5. Fix Small Problems You Are Responsible For
If you notice a small issue that you caused and your lease makes you responsible for it, deal with it before moving out when reasonable.
For example, you may need to remove leftover items, clean a mess, or address a minor issue.
Don’t make major repairs simply because you are worried about your deposit. If you are unsure whether something is your responsibility, check your lease or ask for guidance.
6. Ask About a Final Walkthrough
If your landlord or property manager offers a move-out inspection, take advantage of it.
A walkthrough gives both sides an opportunity to look at the property and discuss its condition.
If possible, keep a record of when the inspection happened and anything that was discussed.
7. Return Keys and Other Property
Don’t forget things such as:
- Apartment keys
- Mailbox keys
- Garage remotes
- Parking passes
- Building access cards
Follow the instructions from your landlord or property manager for returning them.
If possible, keep some proof that you returned everything.
8. Give Your Forwarding Address
Make sure your landlord has the correct address where you can receive your security deposit or other important documents.
Depending on your state and rental agreement, there may be specific requirements about how this information should be provided.
Keeping a copy of what you sent can be useful later.
9. Keep Your Records After Moving
Don’t throw away your rental documents immediately after moving.
Keep copies of:
- Your lease
- Move-in checklist
- Move-out photos
- Cleaning receipts, if any
- Messages with your landlord
- Proof of key return
- Rent payment records
- Your forwarding-address notice
If there is a disagreement about your deposit later, having these records can make the situation much easier to understand.
10. Check Any Deposit Deductions Carefully
If your landlord sends you a statement showing deductions, read it carefully.
Look at what was charged and compare it with your lease, move-in records, photos, and the rules that apply where you live.
Security deposit rules vary by state, including rules about deductions and when a deposit must be returned.
If something doesn’t look right, don’t ignore it. You can ask the landlord for an explanation and check your state’s tenant laws or seek legal help when necessary.
A Simple Move-Out Checklist
Before leaving your rental, make sure you have:
- Read the move-out section of your lease
- Given the required notice
- Removed all belongings
- Cleaned the rental
- Taken photos and videos
- Compared the condition with your move-in records
- Completed a final walkthrough if available
- Returned keys and access devices
- Provided your forwarding address
- Saved copies of important records
Final Thoughts
Getting your security deposit back starts before you hand over the keys. A few simple habits—especially taking photos, following your lease, cleaning carefully, and keeping good records—can help prevent unnecessary problems.
Remember that security deposit laws are not identical across the United States. If you have a dispute or are unsure about your rights, check the current rules for your state or talk with a qualified local housing or legal professional. The Consumer Financial Protection Bureau also provides general resources for renters dealing with housing problems.